It’s all here. Adventures in extreme knitting, the house of poop, and suburban permaculture. You may also find rants about politics, ecology, humanitarianism, responsible living, toe floss, and other topics not covered here. Expect profanity and irreverence. You have been warned.
I wrote this over lockdown for the New Zealand Association for Gifted Children, for their Tall Poppies Magazine. But since I keep losing the link, I thought I had better reproduce the article here so I maintain a copy of it.
The Everything Book
Tracking, scheduling, planning, without judgement
Lara Nettle
01:06:2021
Neurodiversity and Executive Dysfunction
Hi, I’m Lara, and I have ADHD. I’m also autistic, and since learning about my diagnoses later in life, I’m now working on squeezing every positive aspect out of this self knowledge, with the aim of being a better me, and also helping kids to reframe their own challenges. I work with gifted and neurodiverse kids to help them become better self advocates, better social communicators, and take control of their anxiety.
Having ADHD means I respond really well to change, hate routines and schedules, love adventure, and would carry my passport in my back pocket if I thought there was any chance of a spontaneous trip. Being autistic means that I also like to know what’s happening and feel a comfort in routine. I feel safe knowing what is going to happen, who is going to be there, and what will be expected of me. My life is a constant conflict between a need for safety and a terror of being bored.
I also have a different sense of time – living in the moment means it is easy for me to ignore a deadline until it is like a jumbo jet rushing past my head. There is only now, and not now, and an important deadline only gains relevance when it shifts temporally from “not now” into the real and visceral “now”.
So I’ve tried as many different organisational systems as I have tried diets, and “The Everything Book” is the condensed wisdom of the best systems I have trialed, massaged into a system that works for me and my family. Having my everything book means that I still have room for spontaneity, but I can make sure that all the important stuff gets taken care of so that I can relax and enjoy it without worrying that I’m letting someone down.
Time Blocking, Bullet Journalling, and the Pomodoro Method
If you’ve heard of any of these, you’ll know that at one point or another, they have all been promoted as the next big thing, to help resolve executive function disorders. And if you’re like me, you’ve tried just about everything to try to get your life sorted. Add kids into the mix, and all of a sudden, the life hacks that have got you this far start to fail, and the overwhelm can threaten to swallow you whole.
If you haven’t heard of them, I’ll give you a brief rundown here, and some references for more information at the end. Each of these three I have picked out because they have aspects that can be helpful for an ADHD brain, with certain caveats and modifications. Remembering that time blindness is real, and that our attention can slide off a task even if it is important to us, and that our nervous systems are interest based, can help us to find a way to manage our lives that boosts our self esteem, and gives us the dopamine we need to tackle that next big thing.
The Pomodoro Technique is named after the red tomato shaped kitchen timers (Pomodoro is Italian for tomato), and the core premise is that we can tackle anything for 15 minutes at a time. While this may be true, for those of us with ADHD, even when our motivation is high, our attention can wander, and even setting a timer doesn’t help us overcome the overwhelm we feel when a task seems impossible. Conversely, if the task is something we are interested in, we can do a deep dive and not feel the need to come up for air for quite some time, and a 15 minute timer could be an unnecessary interruption if we have managed to get into the flow of a task.
PROS: Only asks that we start a task, and not commit long term. It’s accessible, easy to implement, and easy to understand.
CONS: Doesn’t help us with the task of breaking down a big task into smaller, more manageable and approachable tasks. Can interrupt a flow state and stop us from being productive. If we lose focus 5 minutes into a session, we won’t get a reminder until the end of each 15 minute period.
Time/Calendar Blocking is the idea that we can lump associated tasks into our calendar, and “block out” time for those tasks to be achieved. Three days a week I am working at schools, Sundays I have a long day of work, and Saturdays are family time. That leaves Monday and Tuesday for me to do all my correspondence, bill paying, planning, dealing with staff, training, and general life admin. I try to block out my mornings for the harder tasks so that I can do the fun stuff (that I am more easily able to concentrate on) for the afternoon, as an incentive to get the hard stuff out of the way.
PROS: If time is allocated and scheduled to a boring admin task, it’s importance and urgency are artificially boosted such that the task is more likely to be done. Works brilliantly with google calendar, and simply allows you to share calendars with your family or team.
CONS: You still need to do all those boring tasks, and if you can ignore 15 minutes worth of boring tasks, the likelihood of staying on task for a whole block of time is even lower.
Bullet Journalling was invented by someone with ADHD, as a way of tracking everything in his life in a systematic way. If you spent any time on instagram, you’ve no doubt come across people whose weekly bullet journal spread rivals the Sistine Chapel in complexity, beauty, and organisation. My bullet journal was a coffee stained wreck, with medical letters and appointments spilling out, and a dividend cheque from three years ago waiting to be banked. Over time, my bullet journal became a way for me to feel bad about myself, rather than a system that helped me to be organised in any meaningful way.
PROS: Bullet Journalling was invented for ADHD, and it is at heart a very flexible system, allowing you to add or subtract pages and spreads that fit your lifestyle and the way you work. It’s simple, needing only a pencil and a notebook to get started. You can also use digital planners with an ipad and pencil if that suits your workflow better.
CONS: Everything has a place! And if you can’t instantly recall where that place is, or you haven’t plotted out this week’s spread yet, you can already feel like you’re behind the 8 ball and flailing. Structure and organisation aren’t built in, ADHD means we learn to become very responsive and spontaneous, but any measure of forward planning can feel like we are setting ourselves up to fail.
So, if you’ve tried it all, and still can’t get it together, what’s next?
Never fear! There is a solution. First off, stop judging your executive function against others. Some people sail through these challenges, and never run out of milk, bread, or toilet paper. Those of us who lack that superpower can make up for it with our creativity and brilliant out of the box thinking – as long as our self esteem remains intact.
Enter, “The Everything Book”. It needs to be big enough so that you can write clearly, and small enough that you can take it EVERYWHERE. Think of it as a combination calendar, bullet journal, and notebook, the one place that you record important information, as it occurs to you.
The bullet journal system relies on you knowing where information belongs before it is recorded. In your Everything Book, the goal is to record the information, before you have all the information, and the complete context. When your boss starts talking about a future task, you can make a note, and add questions, without interrupting the flow of conversation to ask. When someone mentions an upcoming birthday, you can note it down and add it to their contact details later. Documents, forms, prescriptions, business cards etc can go into the back pocket of your notebook, and when it gets too fat, you can either have a sorting session, or find a bigger rubber band (or both!).
Key to this system is taking the time to collate and transfer your day’s rough notes into whatever other systems you are using. For the kid, this tends to happen at the end of the school day, when the lunchbox has been emptied, and they are about to start on school work. For me, I tend to do it in the evenings before bed, as I consider what I need to get ready for the next day. And as a failsafe, I have designated Mondays and Tuesdays as my work and life admin days, so anything that gets missed through the previous week gets rounded up then.
Any information that is time sensitive goes into a calendar on paper, and sometimes on my google calendar too. Tasks that are big, multi step projects might get their own double page spread, with related tasks lumped together, and an attempt made to break down bigger tasks into smaller chunks. Shopping lists, errands, phone calls, staff meetings, all with estimated due dates, and durations if relevant.
If you use an electronic calendar, remember to share key information with others that might be involved or affected by your time blocking. Keep a family calendar that keeps everyone informed of events and dates that are significant. How you use these tools will differ from how they work for me. With the everything book, the only non negotiable is to record the information, and then make the time to review it daily if possible, or less frequently if that is what works for you. Pair it with Microsoft OneNote, Google Keep, or ask Alexa to keep tabs on you
Remember to keep celebrating the successes – dwelling on what we didn’t get right isn’t helpful. A quick analysis of what went wrong, some compassion for that past you who was struggling, and a thought about what might have helped them in that situation is all we need to set ourselves up for another day. Last week I failed to write something down because I was driving the kid to school, and left my book at home. Next time, I’m going to use my phone to send myself a text message, which will ping on my laptop as soon as I boot it up when I get home. That means my “failure” this time has boosted my ability to think through a problem and find a creative solution, and next time this happens I already know how I am going to handle it. And that becomes a reason to feel good about my ability to handle challenges, not a reason to feel bad about my failures.
Growth mindset tells us that we build the neural pathways that we reinforce. So every bit of positive reinforcement we can give ourselves leads to better efficiency of those pathways in the future.
WHAT YOU NEED TO GET STARTED
Paper. A cheapie notebook, a fancy handbound book, a binder, whatever. Just make sure it’s big enough to write in comfortably, and small enough to carry with you EVERYWHERE. You won’t be able to take notes in the shower, but if you have it handy, you can jot down notes before you even dry off properly – so hopefully you can take your notes before you forget what you needed to record.
A writing implement. Any colour, any type. If you’re into stationery, here is your excuse to get a nice pen that writes smoothly and dries quickly. If you do have a lovely fountain pen, and want to use it, just make sure whatever you choose isn’t a barrier to making notes. One of my pens takes ages to dry, so I actually stopped writing notes unless I had time for the page to dry. This pen went back into a drawer, and a more practical pen came out, and my notes got more consistent.
Let go of your expectations. Remember that “Done is better than perfect”, and focus on writing things down over making sure you get all the details right.
PROCEDURE
If in doubt, write it down. Appointments, tasks, birthdays, present ideas, meal plans, recipes, holiday inspiration, budgeting, tracking spending, health symptoms, homework, exams, whatever it is that you have going on in your life, write it down. Get into the habit of having your book handy at all times – after a while, you’ll notice what works for you, what you need to pay more attention to tracking or recording, and what you can let slide, because it’s already automated and built into your life. I don’t track my medication, because I have my medication with coffee every morning, and I NEVER forget my coffee.
Once a day, once a week, whatever interval works for you, categorise your random notes into meaningful pages. Events can go on the calendar, to-do lists can be prioritised and allocated to days, and future plans can be scheduled sensibly, instead of my usual catchall category of “later”.
Break down big tasks into smaller, achievable tasks. Washing the dishes can seem overwhelming. Breaking it down into smaller tasks that we can check off a list gives us a sense of achievement, and a dopamine hit that can help us get motivated to tackle the next task on the list.
Congratulate yourself on a job well done. An ADHD brain needs dopamine, and task achievement releases dopamine. Ticking off a checkbox and allowing yourself to feel good about that achievement might just give your brain the dopamine it needs to be able to tackle the next job on the list.
Thanks to @fartmarbles on Tik Tock, I have successfully programmed my first nfc shortcut, to tell my phone I’ve taken my morning meds.
A shortcut to tick off a recurring reminder when my phone taps the nfc sticker on my pill case.
More public speaking, a completed assessment (not marked, just pass/fail, and I’m assuming a pass since no news is good news), finally got the paperwork to the lawyer to go ahead with forming the charitable trust for Gamechangers League, and kiddo is still trucking along ok at school. Not loving it, not reaching social or academic heights, but ok.
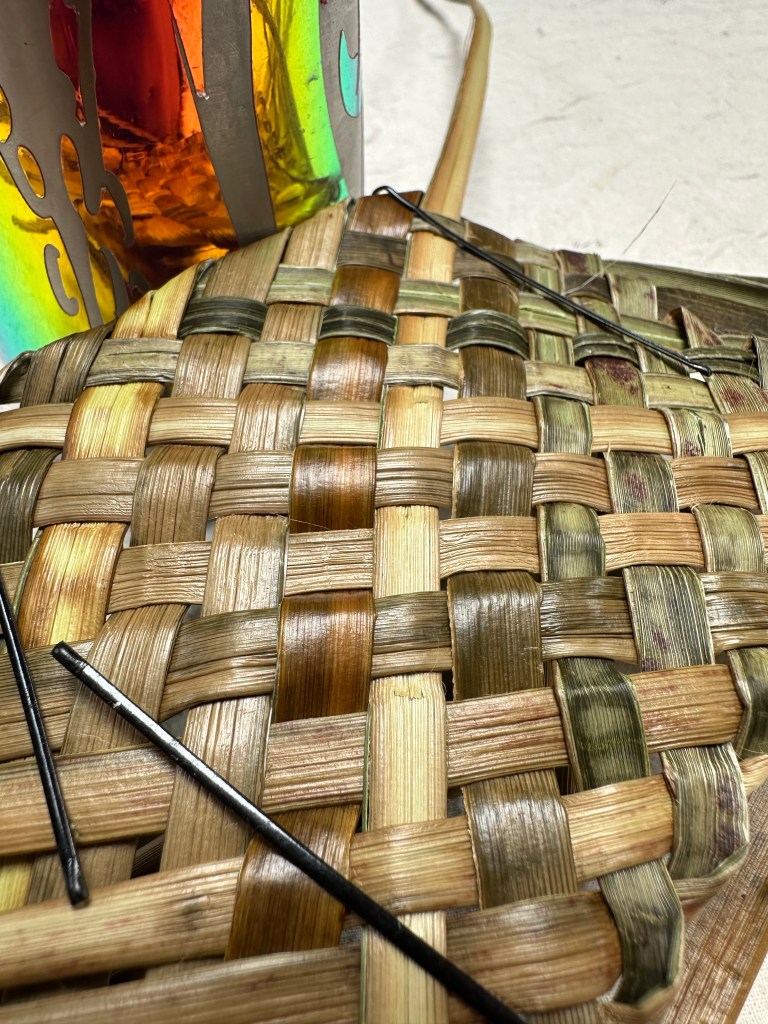
And last night I was assessed for my competence at using the laser cutter at Tap Lab and got my full licence, so now I CAN LASER CUT ALL THE THINGS!!!
I celebrated by making squirrel earrings. As you do.
I’ve just updated the firmware on my new coffee cup (thanks mum & dad!), and given up on thanking people for birthday Facebook messages.
I’ve spent the day at work, with some of my favourite kids and people, being around such positive energy and happiness is a brilliant way to spend the day. I got some incredibly thoughtful gifts, some gorgeous cards, and as a bonus three kids baked for me ❤️
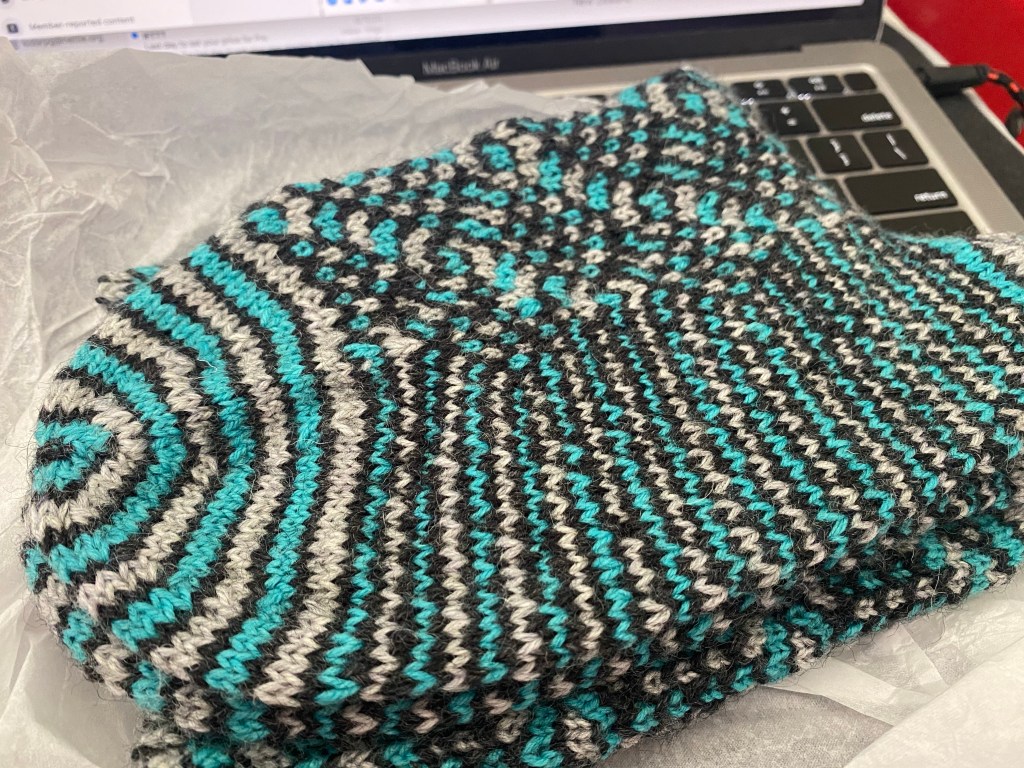
If you know me, you know that I knit. I knit very slowly, and I don’t finish very much. I have knit socks, and they are a fun project, but they take about 20 hours of solid, consistent work to finish a pair.
So if I knit you socks, you know I really, really love you. It’s like the ultimate expression of love for someone who doesn’t need one of your kidneys. Yet.
Wendy is very clever and amazing in many ways, but one area in which she has verified champion status is in sock knitting. You might not be aware, but every year there is a sock speed knitting championship, and I am lucky enough to know a few people who have competed.
This year, Wendy was in the final 10, and came in second (iirc) IN THE WORLD. She is the silver medalist in making beautiful, complicated, and fully functional socks.
And today, while I’m planning my week around starting radiation on Monday, a very sweet courier delivered a package. And I started to cry as soon as I saw what it was.
Through this whole fucking saga, I haven’t cried. There has been a tear here and there, and the odd moment of “well, this is horrible”, but I haven’t actually broken and started sobbing until today.
I don’t know if I will wear these to death or have them framed so they can be treasured forever, but they are truly precious. Thank you Wendy.
Since I’ve been teaching knitting for a while now, I thought it would be useful to gather together a collection of resources for students to reference after the class ends. I can always be contacted through the blog if you have questions, and I will keep updating this page as new resources or corrections come to hand.
Gizmodo has a great tutorial (absolutely the last place I’d expect to find a knitting tutorial, gold star to them!), with animated GIFs to demonstrate each step. Unfortunately, the cast on they demonstrate is the long tail cast on, which is probably more complex than most beginners will be comfortable with.
Starting with a a knitted or cabled cast on would be my recommendation, as even though these are not the simplest methods available, they do introduce the skills you will need for the knit stitch, and therefore they provide a better foundation skill.
Brooke’s Magic Sproingy Cast On is my absolute favourite for both ease of execution and the super stretch edge it delivers, but beginner projects are more likely to call for a more stable edging.
Quick video here – more detailed video on my Pattern Support page.
The Knit Stitch
Each loop on your needle that you have cast on (including the slip knot if you started with one), will now be referred to as a “stitch”.
Each stitch sits on your needle with a “leg” on Esther side. With the needle in your left hand, and the tip of the needle pointing to your right, we will refer to the legs of the stitches facing you as the “front” leg.
As you knit each stitch, you will insert your needle from the left hand side of the front leg, underneath the needle and out towards the back of the work to the right hand side of the back leg of the stitch. Your right hand needle will travel between the legs of each stitch, from front to back, from left to right.
Next, wrap the working yarn around the right hand needle from left to right in a clockwise direction. Holding the working yarn and the needle together, pull the loop you have just made through to the front of the work, being careful not to let it fall of the needle. Once the loop is at the front of the work, you can then slip the foundation loop off the left hand needle. Congratulations, you have just knit your first stitch!
Though there is infinite variation in knitting, every stitch of every knitted item is merely a variation of the stitch you have just learned how to make.
A handy rhyme for remembering each of these steps that I like (especially when teaching bloodthirsty kids) has a piratical theme.
Stab them
Hang them
Throw them off the plank
Experienced knitters will develop a flow with their knitting so that each of these three steps becomes almost indistinguishable from the others, with each stitch seeming to fly off the needles. In order to get to this level of intuitive and effortless knitting, the most important thing to master is the way you hold your knitting needles and your working yarn. Tensioning the working yarn is something that is completely individual, and something that you will have to work out for yourself. What works for me isn’t necessarily what is going to work for you, and though your handedness is something worth considering, many right handed people will choose to knit continental style, and many left handers are quite comfortable knitting English style.
Loosely, “English” refers to managing the working yarn in the right hand, and “Continental” refers to holding the working yarn with the left hand. “Picking” means using your needle to “grab” onto the working yarn with your right hand needle, and pulling it through to create a stitch, and “throwing” refers to the action of using your fingers to wrap the yarn around the needle. As with which hand you hold the working yarn in, the difference between picking and throwing is down to individual preference, and there is absolutely no right or wrong way to perform the knit stitch.
While you’re learning how to tension your yarn (if you’re interested in learning how to knit the Continental method) you may find it useful to grab a crochet hook and some yarn and practice making a crochet chain. While you work on finding a method of wrapping the yarn around your fingers and hand, you’ll want to find a path to wrap the yarn that feels comfortable, and allows the yarn to flow through the fingers when you need it to, but allows you the control to be able to keep a firm hold when you need the working yarn to be constrained. The Purl Stitch
Ordinarily, knitting projects are knit from right to left, and the work is turned at the end of every row. If you knit every row, you will end up with a fabric that has bumps on each row, this is called garter stitch fabric. To create a fabric that is smooth on one side (stocking stitch, sometimes called stockingette), you will need to either learn to perform the knit stitch from left to right (perfect for people who are naturally ambidextrous), or learn the Purl stitch, which is effectively the same as a knit stitch, but executed from the reverse side of the fabric.
Insert the right hand needle into the stitch from right to left, back to front. Wrap the stitch from right to left over the right hand needle, in an anti-clockwise direction. Holding the working yarn snugly, pull the new stitch through to the back of the work, and then work the foundation stitch off the left hand needle. Cast Off
Like casting on, there are numerous ways to cast off. As illustrated in the Gizmodo video above, this basic cast off with provide a firm and stable edge, suitable for any project that doesn’t require a stretchy edge.
Knit (or purl) two stitches, then pick up the first stitch and drop it over the second stitch. Knit one more stitch, drop the second stitch over the third. Keep working in this manner until you reach the final stitch. Measure out at least 20cm of yarn from the working yarn, and cut the yarn. Thread the yarn through the final loop, and pull snugly. Finishing
The “tail” at the end of your work can be woven through the cast off edge with a tapestry needle to hide it, or used to sew up your work. Sew in the tail from your cast on edge, and your knitting is done!
For a professional finish, most projects will benefit from a gentle bath in warm water. You can use a little shampoo if your yarn feels greasy or needs a clean, or conditioner if you’d like to soften it up a little. Once out of the bath, squeeze gently to remove excess moisture, then press between layers of clean towel. You can then pin the work to shape, or gently tug to shape and leave to dry in the shade. This blocking process will allow your work to relax, and will often even out slightly wonky looking knitting. Celebrate your accomplishment!
Although knitting can seem effortless when you watch an accomplished knitter, remember that every stitch you perform is reinforcing a new pathway in your brain. When you begin, like any new skill, learning to knit can be very frustrating, and may seem quite counterintuitive. Persistence when things get hard will eventually get you to a place where each stitch flows, but if you need to take a break, do so!
Sometimes changing hands can be worthwhile, sometimes just taking a break for a glass of water, or maybe a stretch. You’ll be using your muscles in a new way, and it is normal to feel a little stiff after a period of intense work. If you find that you are repeatedly sore in a particular muscle, it may be worth trying a new method, and perhaps having a chat with a Physio or Osteo about the ergonomics of your method. While each stitch is an accomplishment, in order to make a garment, you’ll enjoy the process a lot more if you can knit comfortably!
And when you get to the point that you can knit without having to concentrate on what you are doing, you can use your knitting as a tool for Cognitive Anchoring. Well before I knew it was a thing, my knitting became my constant companion, and allowing me to escape “Death by PowerPoint” on many occasions. What’s next?
Once you are comfortable knitting and purling, you can start to take on some nw challenges like lace, cabling, learning to read patterns and charts, and a whole world of creating will open up to you.
Check out Ravelry and create an account. Start to gather some favourite projects, and research what sort of skills you will need to learn before you cast on. Connect with your local Guild or Creative Fibre group, join a knitting group, and you’ll reap the benefits of connection and support that generations of knitters have enjoyed. Congratulations, you are one of us.
Milo – a simple baby/kids vest with some cool techniques, well explained.
Ten Stitch Blanket – a fun way to knit a blanket, just ten stitches at a time. Pattern is easily memorised, and makes great tv knitting. Also a brilliant project for learning to knit (purl) backwards.
Time Traveller Sock toe up with a firm gauge, well described instructions, and a timeless, classic, well fitting design.
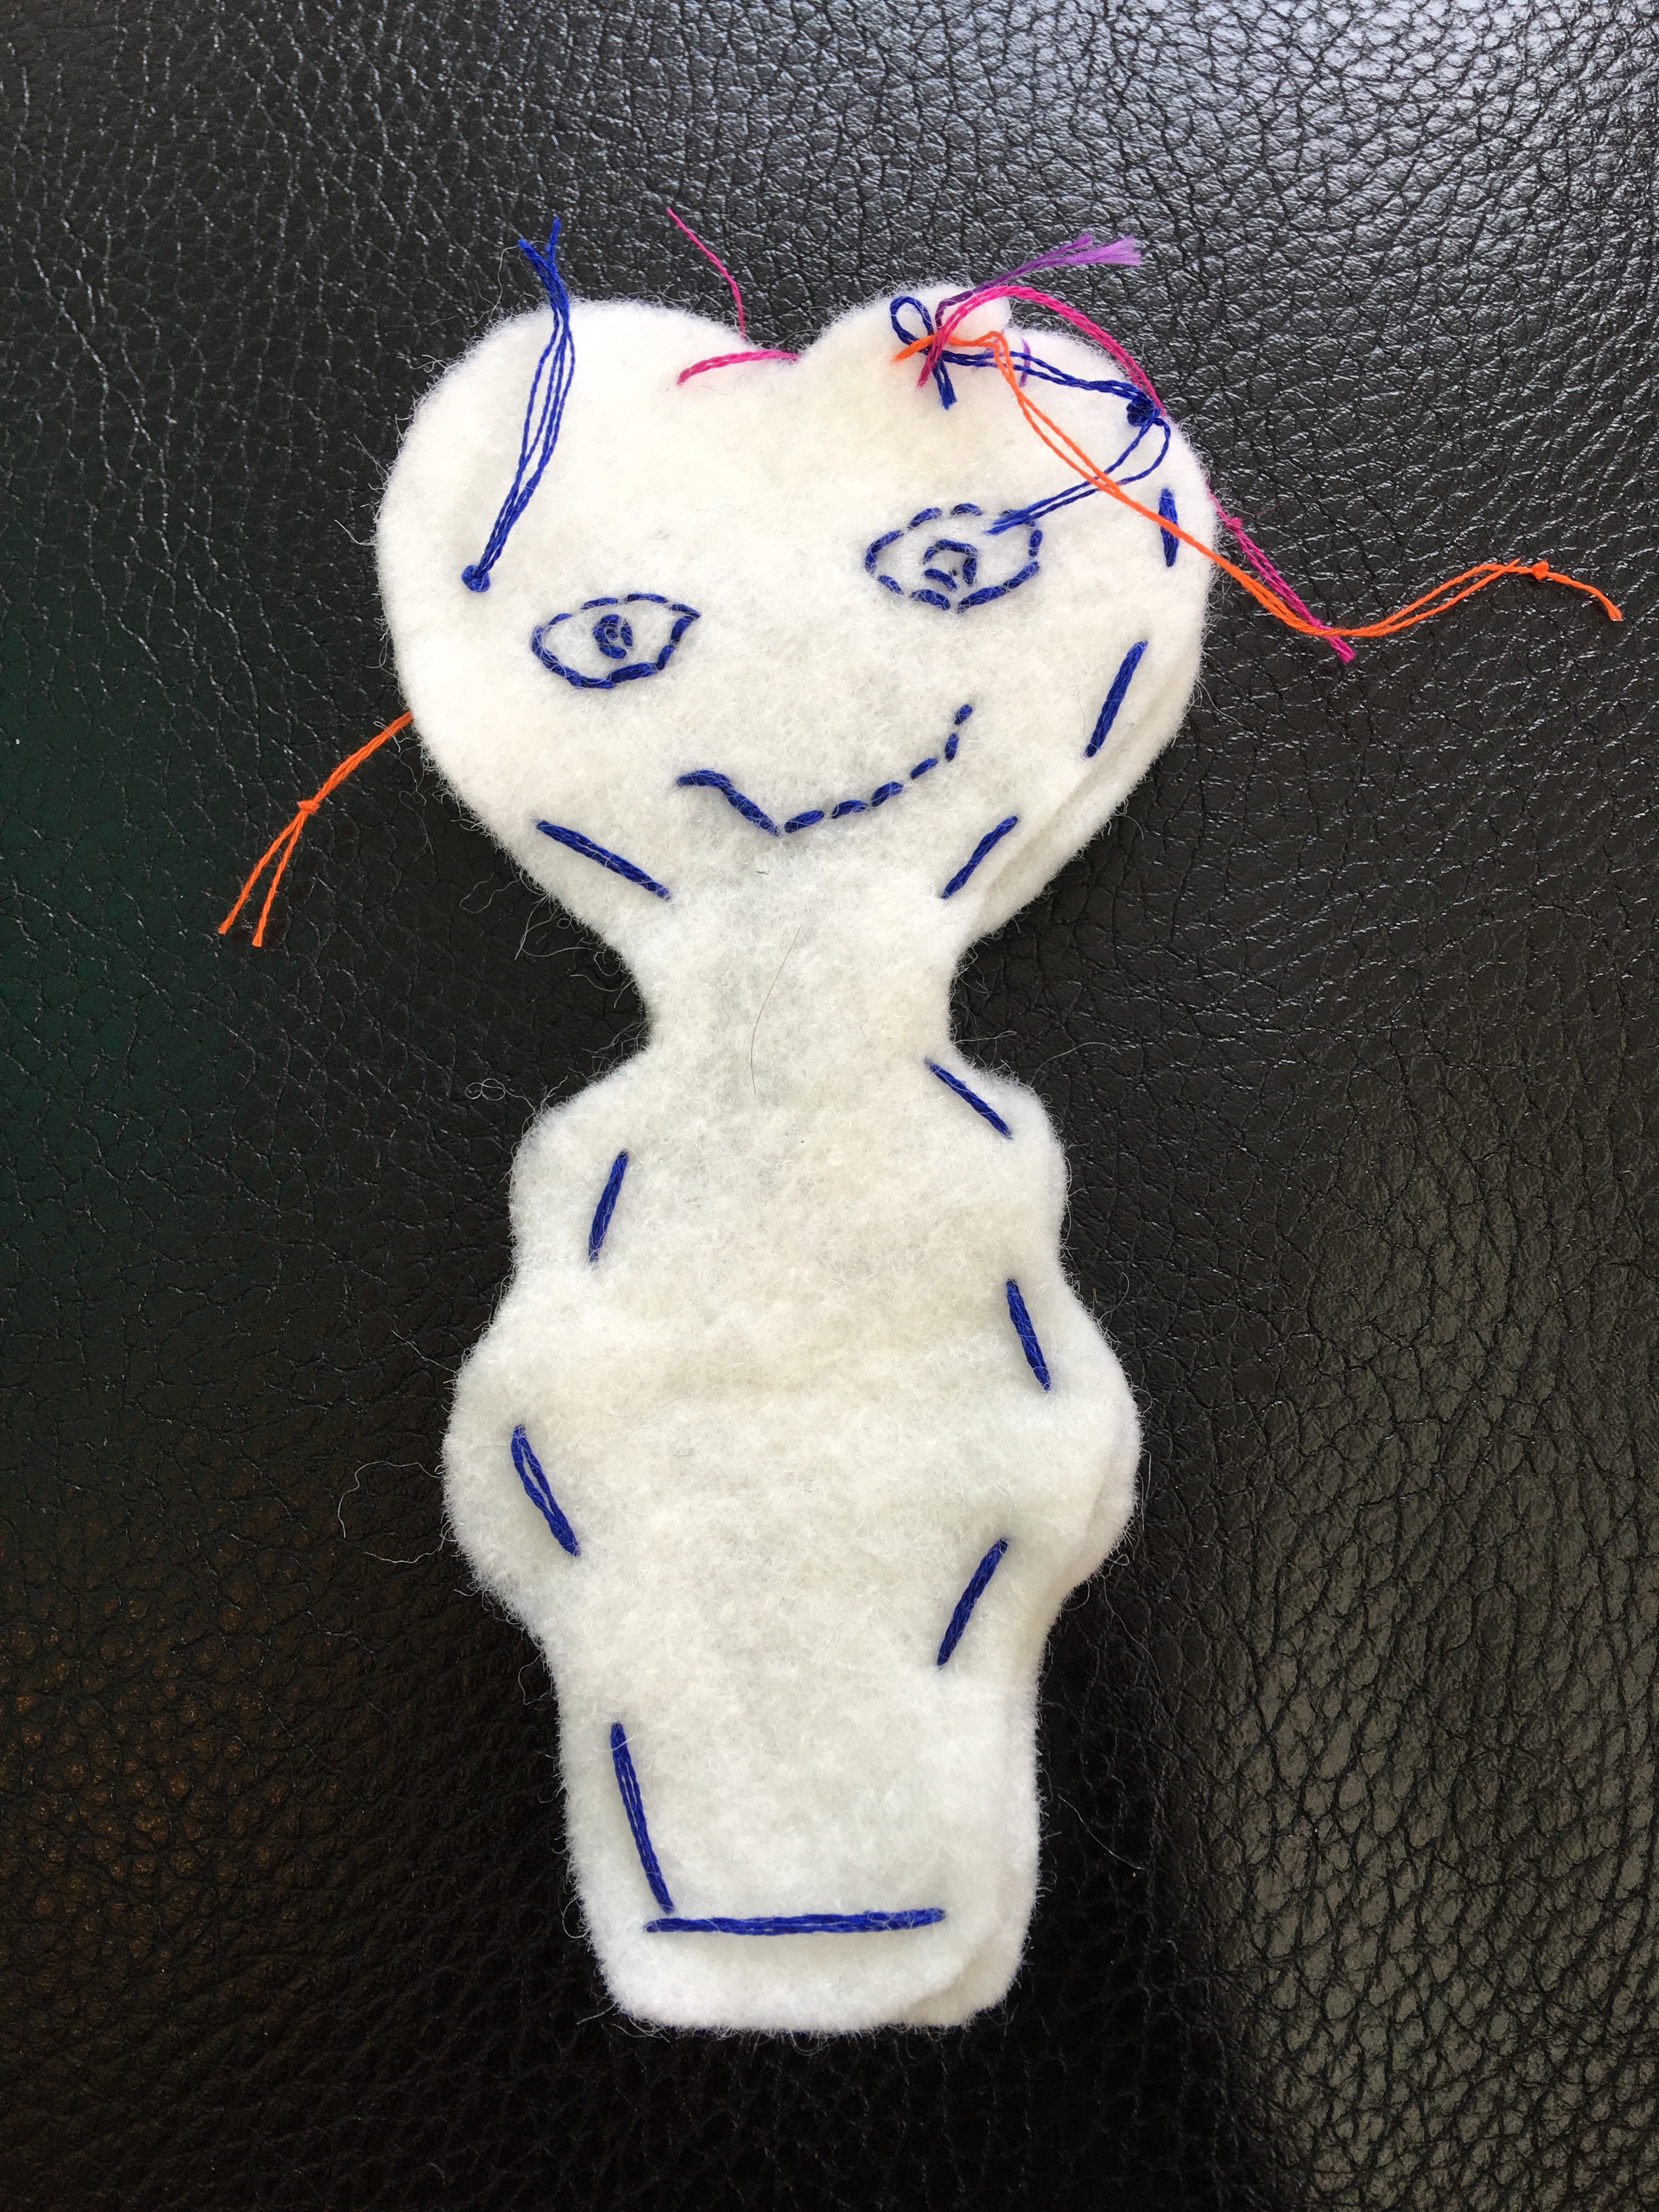
I’m off to Dunedin for Unwind today. Normally Inigo holds my hand for take off and landing, but since he’s not travelling with me, he made me this. A mini Inigo to hold while I’m feeling nervous.